How to build an indoor Barn Owl nestbox
A Barn Owl nestbox in a building is by far the best option.
More about indoor Barn Owl boxes.
How to make a Barn Owl nestbox – step by step photo instructions:
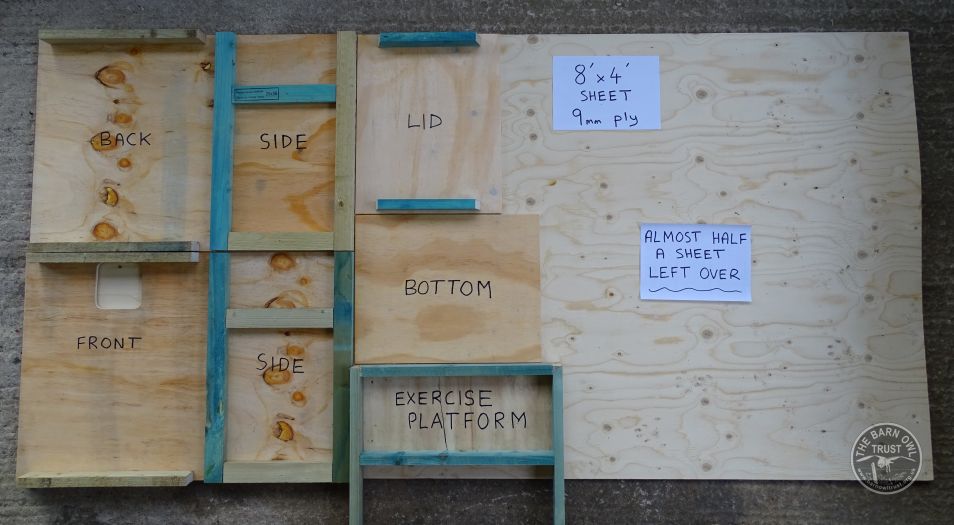
1. Study this one a while; it not only shows you how to cut up the sheet of ply most economically but also shows you where the battens are attached to each piece before final assembly.
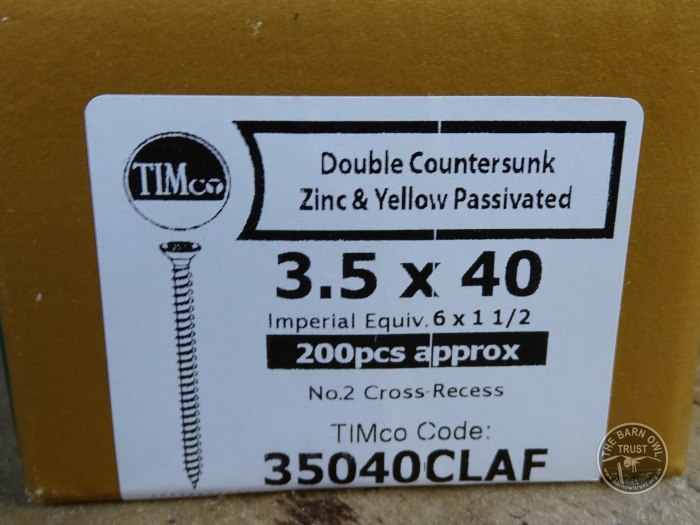
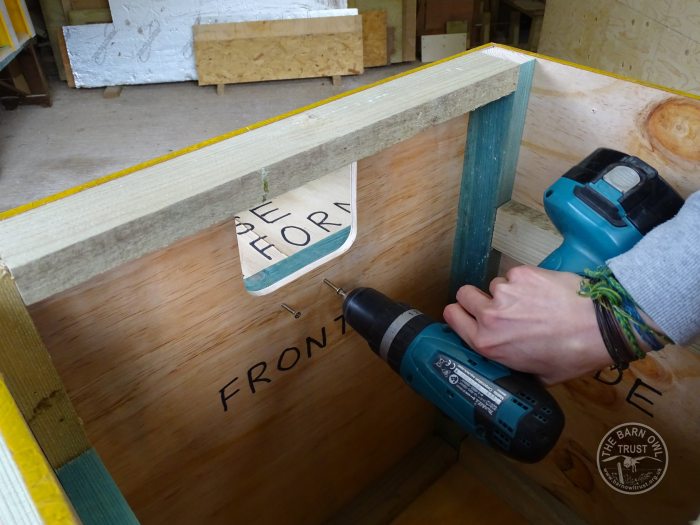
2. We use 30mm screws for fixing into the ‘flat’ side of a batten but nails and/or glue are both possible.
3. We use 40mm screws for fixing into the ‘edge’ of a batten.
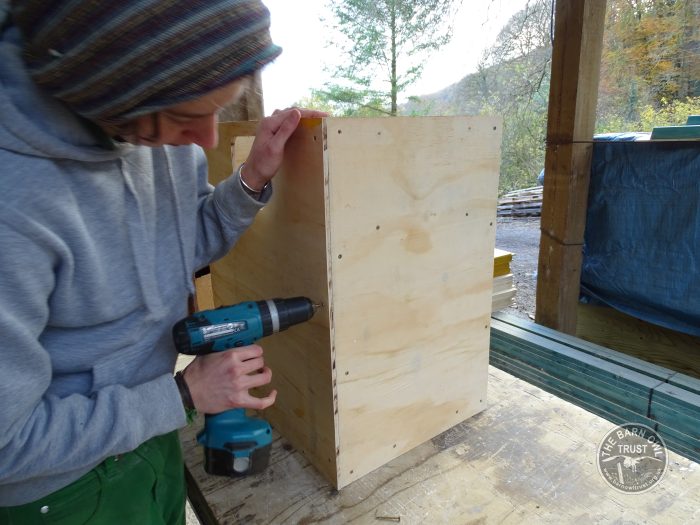
4. Start by screwing the front to one of the sides. Note the batten across the side which will eventually take the Exercise Platform screws.
5. An electric drill-driver really speeds things up!
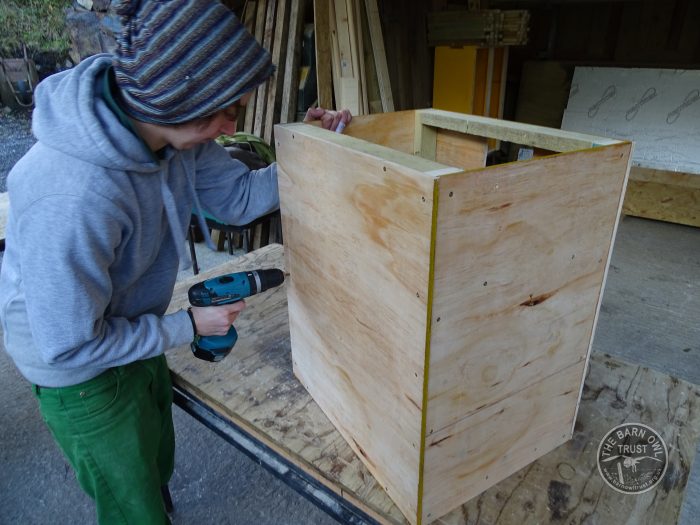
6. Now fit the second side. Check that both sides are the right way up.
7. Four or five screws along each edge should suffice.
8. Now fit the back in the same way.
9. Screwing the back on.
10. Now fit the bottom BUT …
11. 40mm screws are too long for screwing into the ‘flat side’ of a batten – use 30mm for this.
12. Be careful not to miss the batten. We don’t want any sharp ends sticking through.
13. For fitting the Exercise Platform, use 50mm screws.
14. Check that it is level before the second screw goes in and check the second side too.
15. Remember to stick a few 30mm screws in here. It will stop an owl getting its talon caught in the gap that would open up over time.
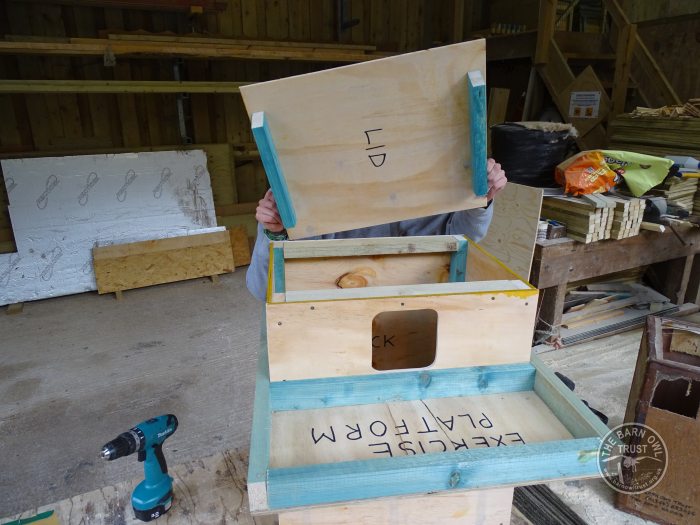
16. Now the removable lid goes on (it is not fixed).
17. The lid is for nest inspections and eventual clearing out. It should lift easily with one finger.
18. Job done – simple!
